Julie Dickson has always been fascinated by “little kid hair”—the unbleached, never-touched-a-hot-tool tendrils that reflect the light with a kaleidoscope of colors. “I used to love it when I would get stuck behind a redheaded kid in line at the grocery store,” she tells me as she paints my own strands at her chic Lower East Side salon, Joon Drop. In each youthful mane lies a patchwork of subtle yet vibrant hues, which, for a master stylist like Dickson, is a feast for the eyes. “You’ll even see a purple strand, or a clear, strawberry strand,” she gushes.
These memories eventually became the impetus for her salon speciality: “kid color,” a low-maintenance dye job that takes you back to your most natural, youthful shade. As a member of the “blonde as a child” club, I was curious whether this subtle technique could truly catapult my strands back in time, so I skipped over to Joon Drop to put “kid color” to the test. Ahead, my investigation.
What Is the “Kid Color” Technique?
If you’ve ever looked at your baby photos and wondered, “Why does my hair look so good, and why doesn’t it look like that anymore?” you’re not alone. Little kid hair tends to appear bouncier, healthier, and way more vibrant before it ultimately loses luster over time. This is in part due to accumulated stressors—like heat damage, free radicals, and overall wear and tear—and hormone fluctuations from the natural aging process. I personally wish I could go back in time, shake the tiny shoulders of my 6-year-old self, and beg her to never fry her strands with a flat iron—but some of the changes are, to an extent, unavoidable.
“Most people’s hair gets a little bit darker as they get older,” Dickson explains. “But a big thing that happens is that it stops producing so much warmth. All those honey and chestnut pieces that people used to get in their hair stop occurring.” That’s where the “kid color” technique comes into play. By reintroducing an array of tones (as opposed to, say, one set of highlights), your hair can take on a more lustrous quality that, in the end, doesn’t look color-treated at all.
My highlights/lowlights station
How It Works
Note, “kid color” is a little more than just natural-looking highlights. “What I usually do is take paper-fine baby pieces, [dye some] slightly lighter, and then [dye] some slightly darker shades of the natural color,” she says. By including lowlights (aka, darker pieces) in the mix, you’re able to create dimension without completely altering your base shade. As for the paper-thin pieces? That ensures the highlights don’t look so “stripey,” Dickson tells me. The highlights and lowlights should naturally ebb and flow throughout your mane—as if your hair were naturally kissed by the sun.
Before selecting your dye, Dickson will first take a look at your baby photos. This is actually a pretty common practice among colorists, as it can be helpful for deciding whether cooler or warmer tones suit you best. A caveat: Just because you might have been blonde as a child doesn’t mean you’ll wind up platinum. It’s important to set expectations here. The goal with “kid color” isn’t to identically match your childhood hue but to bring out the same level of warmth and vibrancy.
“If you look at your blonde when you were little, it was a warm blonde,” Dickson points out from my own baby photo. “It was kind of a buttery blonde. It wasn’t ashy at all. So that’s what we’re doing—a warm honey blonde, just a darker version.”
My Results
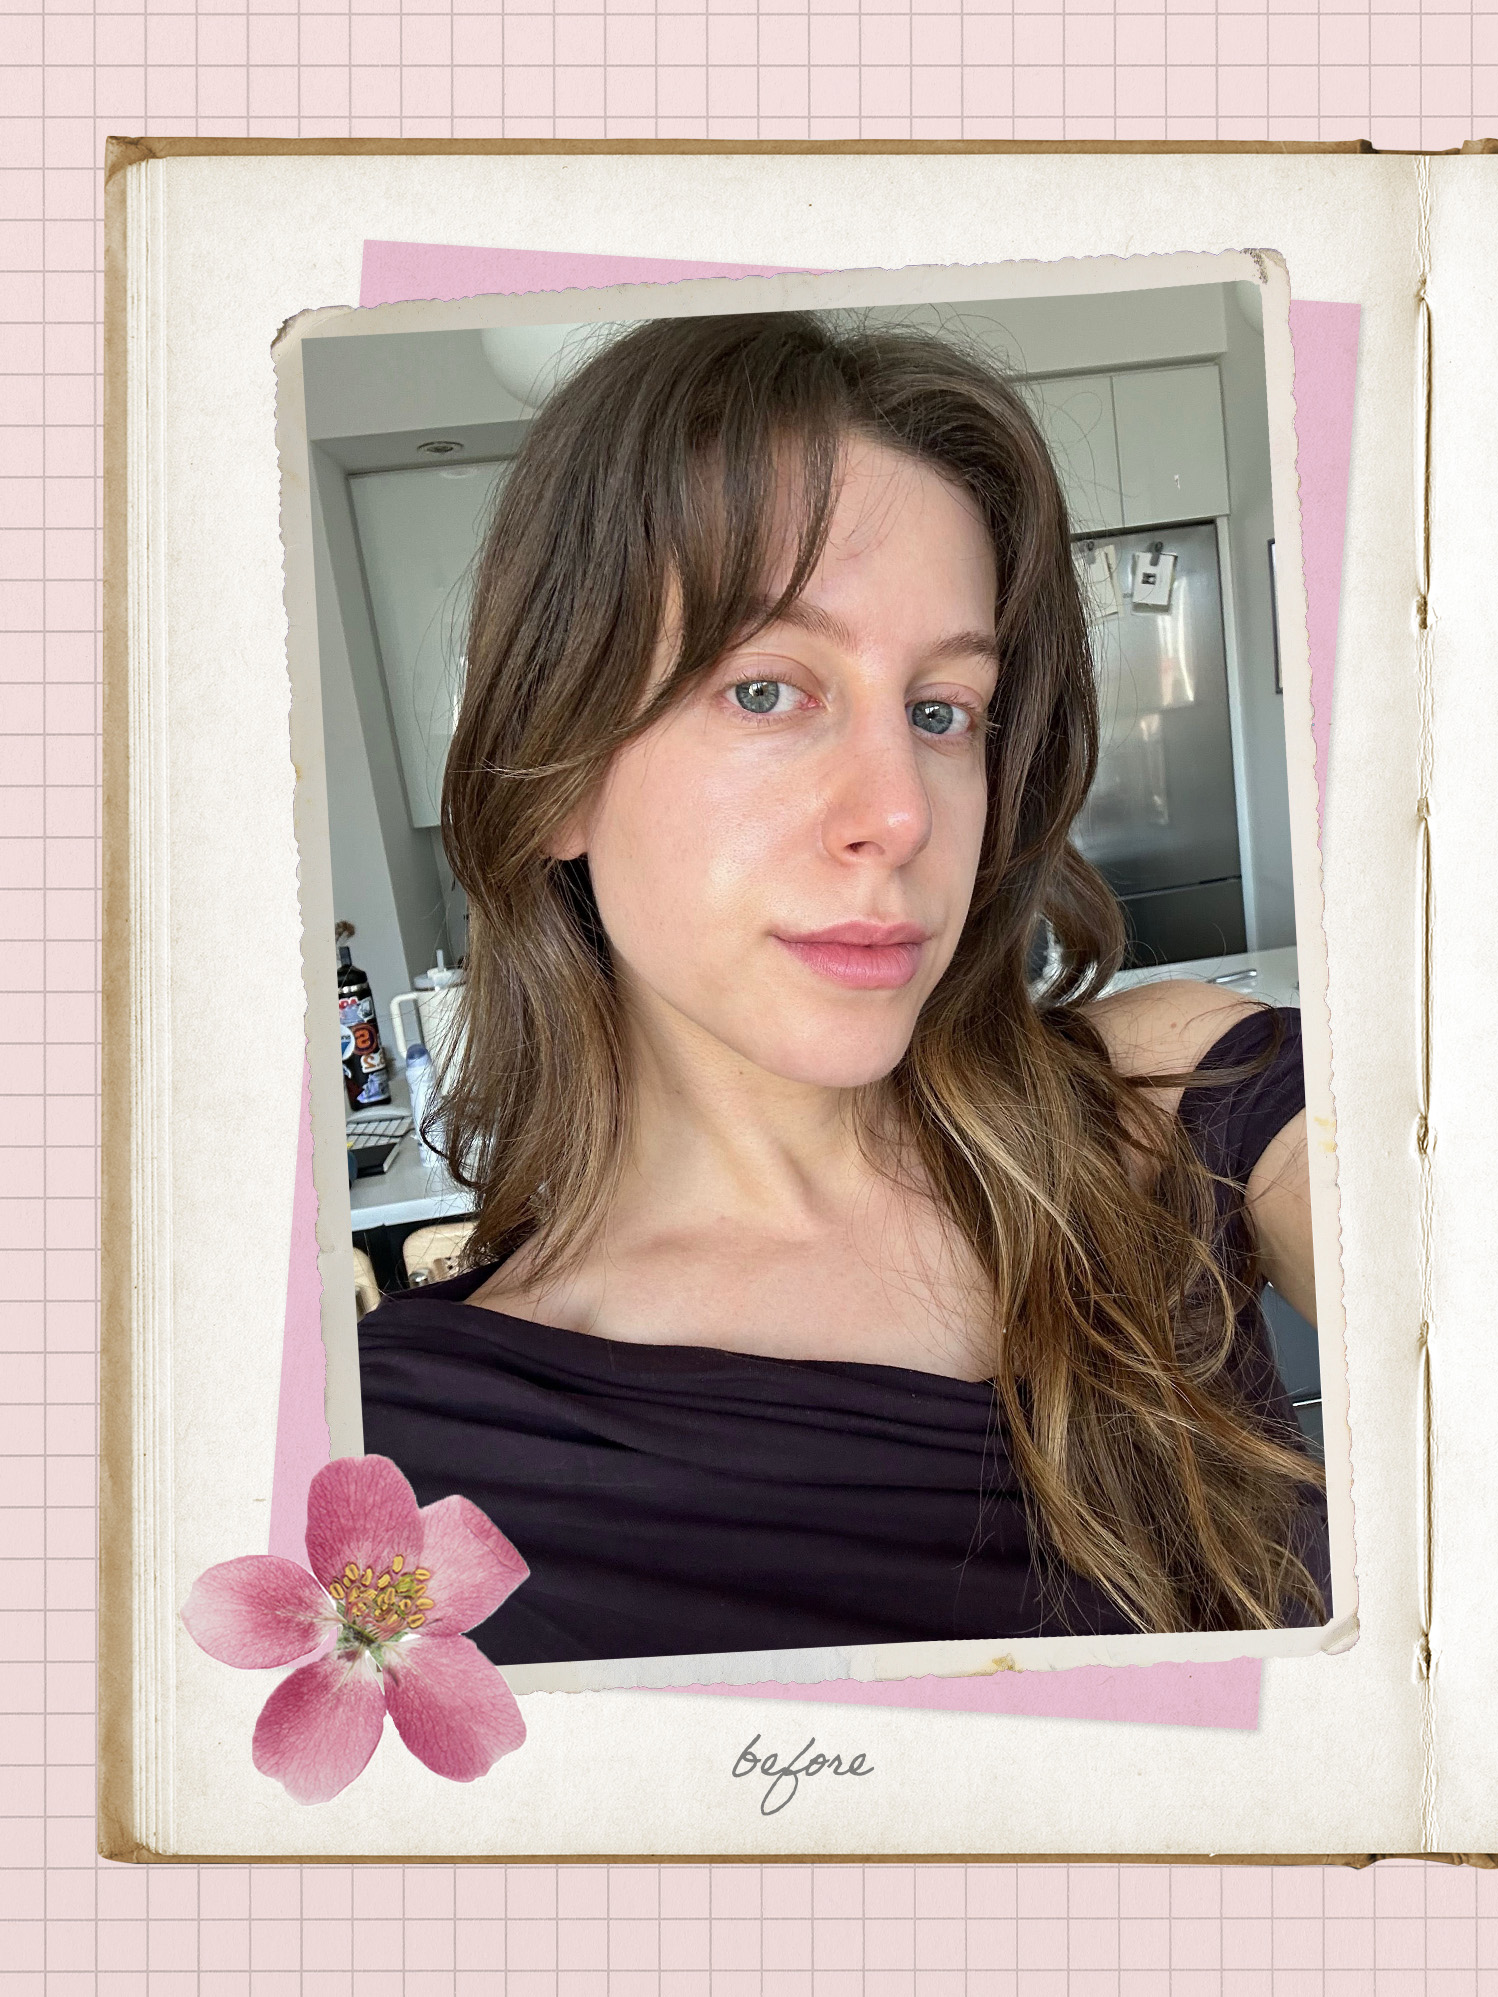
I’ve had highlights before. However, it had been a while since I’d gotten them touched up. (As you can probably tell from my “before” photo above, my roots are pretty dark.) After landing on the direction of “warm, nude honey” from my baby photos, Dickson painted and foiled my strands in super-thin, tiny pieces.
“Hair color is always darker at the roots than it is on the ends, so we’re taking what you have [there] and adding in some of that honey,” she tells me. She painted those highlights first, then added in some lowlights around my roots to create depth. After washing, toning, and blow-drying my strands, she left me with a noticeably brighter, sunnier mane that still felt like me.
Of course, I had to ask Dickson about the upkeep. How often would I need to come back for touch-ups? “If you do it right the first time, you could never have to get it done again,” Dickson declares, much to my delight. “For you, we’re doing something a little more impactful. I’d say twice a year.” Not bad considering some color choices require maintenance every six weeks!
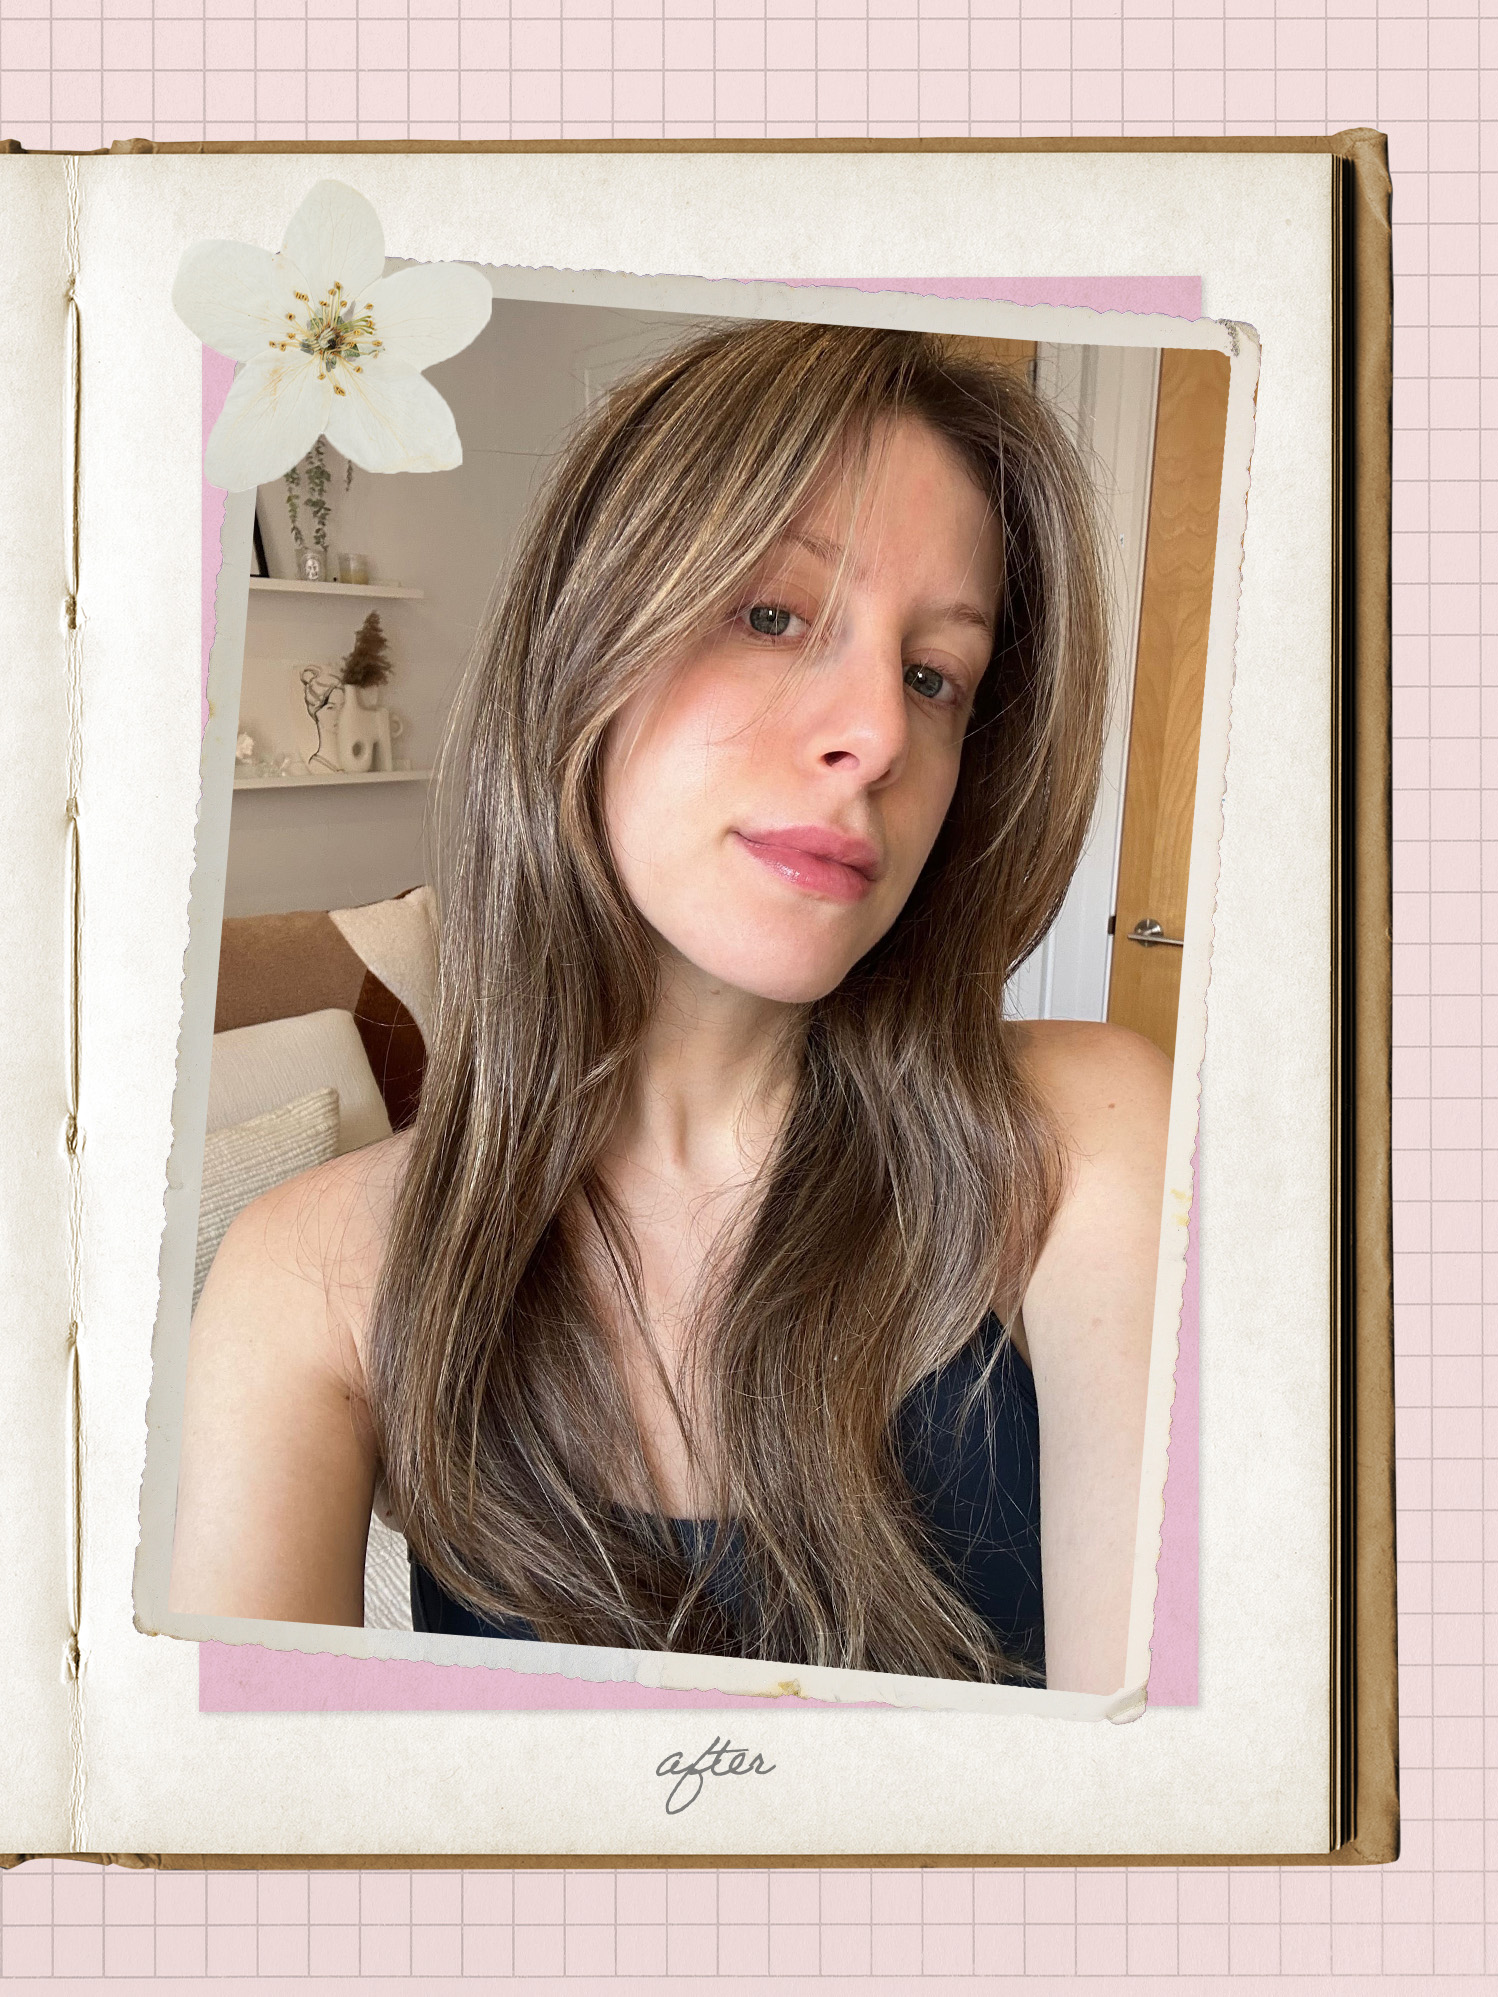
Overall, I’d consider Dickson’s technique the “no-makeup makeup” of hair color—a little zhuzh that makes a noticeable impact. And if I inspect a section up close, I can detect a medley of hues: golden, chestnut, honey, etc. These slight variations make such a difference in my hair’s level of shine. In the weeks following my appointment, multiple stylists have commented on my “seamless” hair color—coming from the pros themselves, this is a mega-compliment. I wonder if a colorist has even stood behind me at the market or on the subway platform, secretly marveling at how my strands catch the light. A girl can dream.
Shop Products I Use to Keep My Hair Vibrant
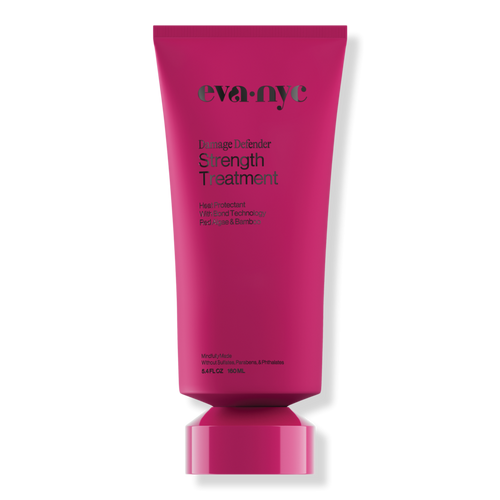
Eva NYC
Damage Defender Strength Treatment
ICYMI, Brooklyn-based haircare brand Eva NYC rebranded its tie-dyed packaging. Rest assured, brand loyalists, its good-for-hair formulas remain the same. I’m particularly obsessed with this strengthening treatment, which comes infused with red algae and bamboo for optimal strand brilliance and vitality.
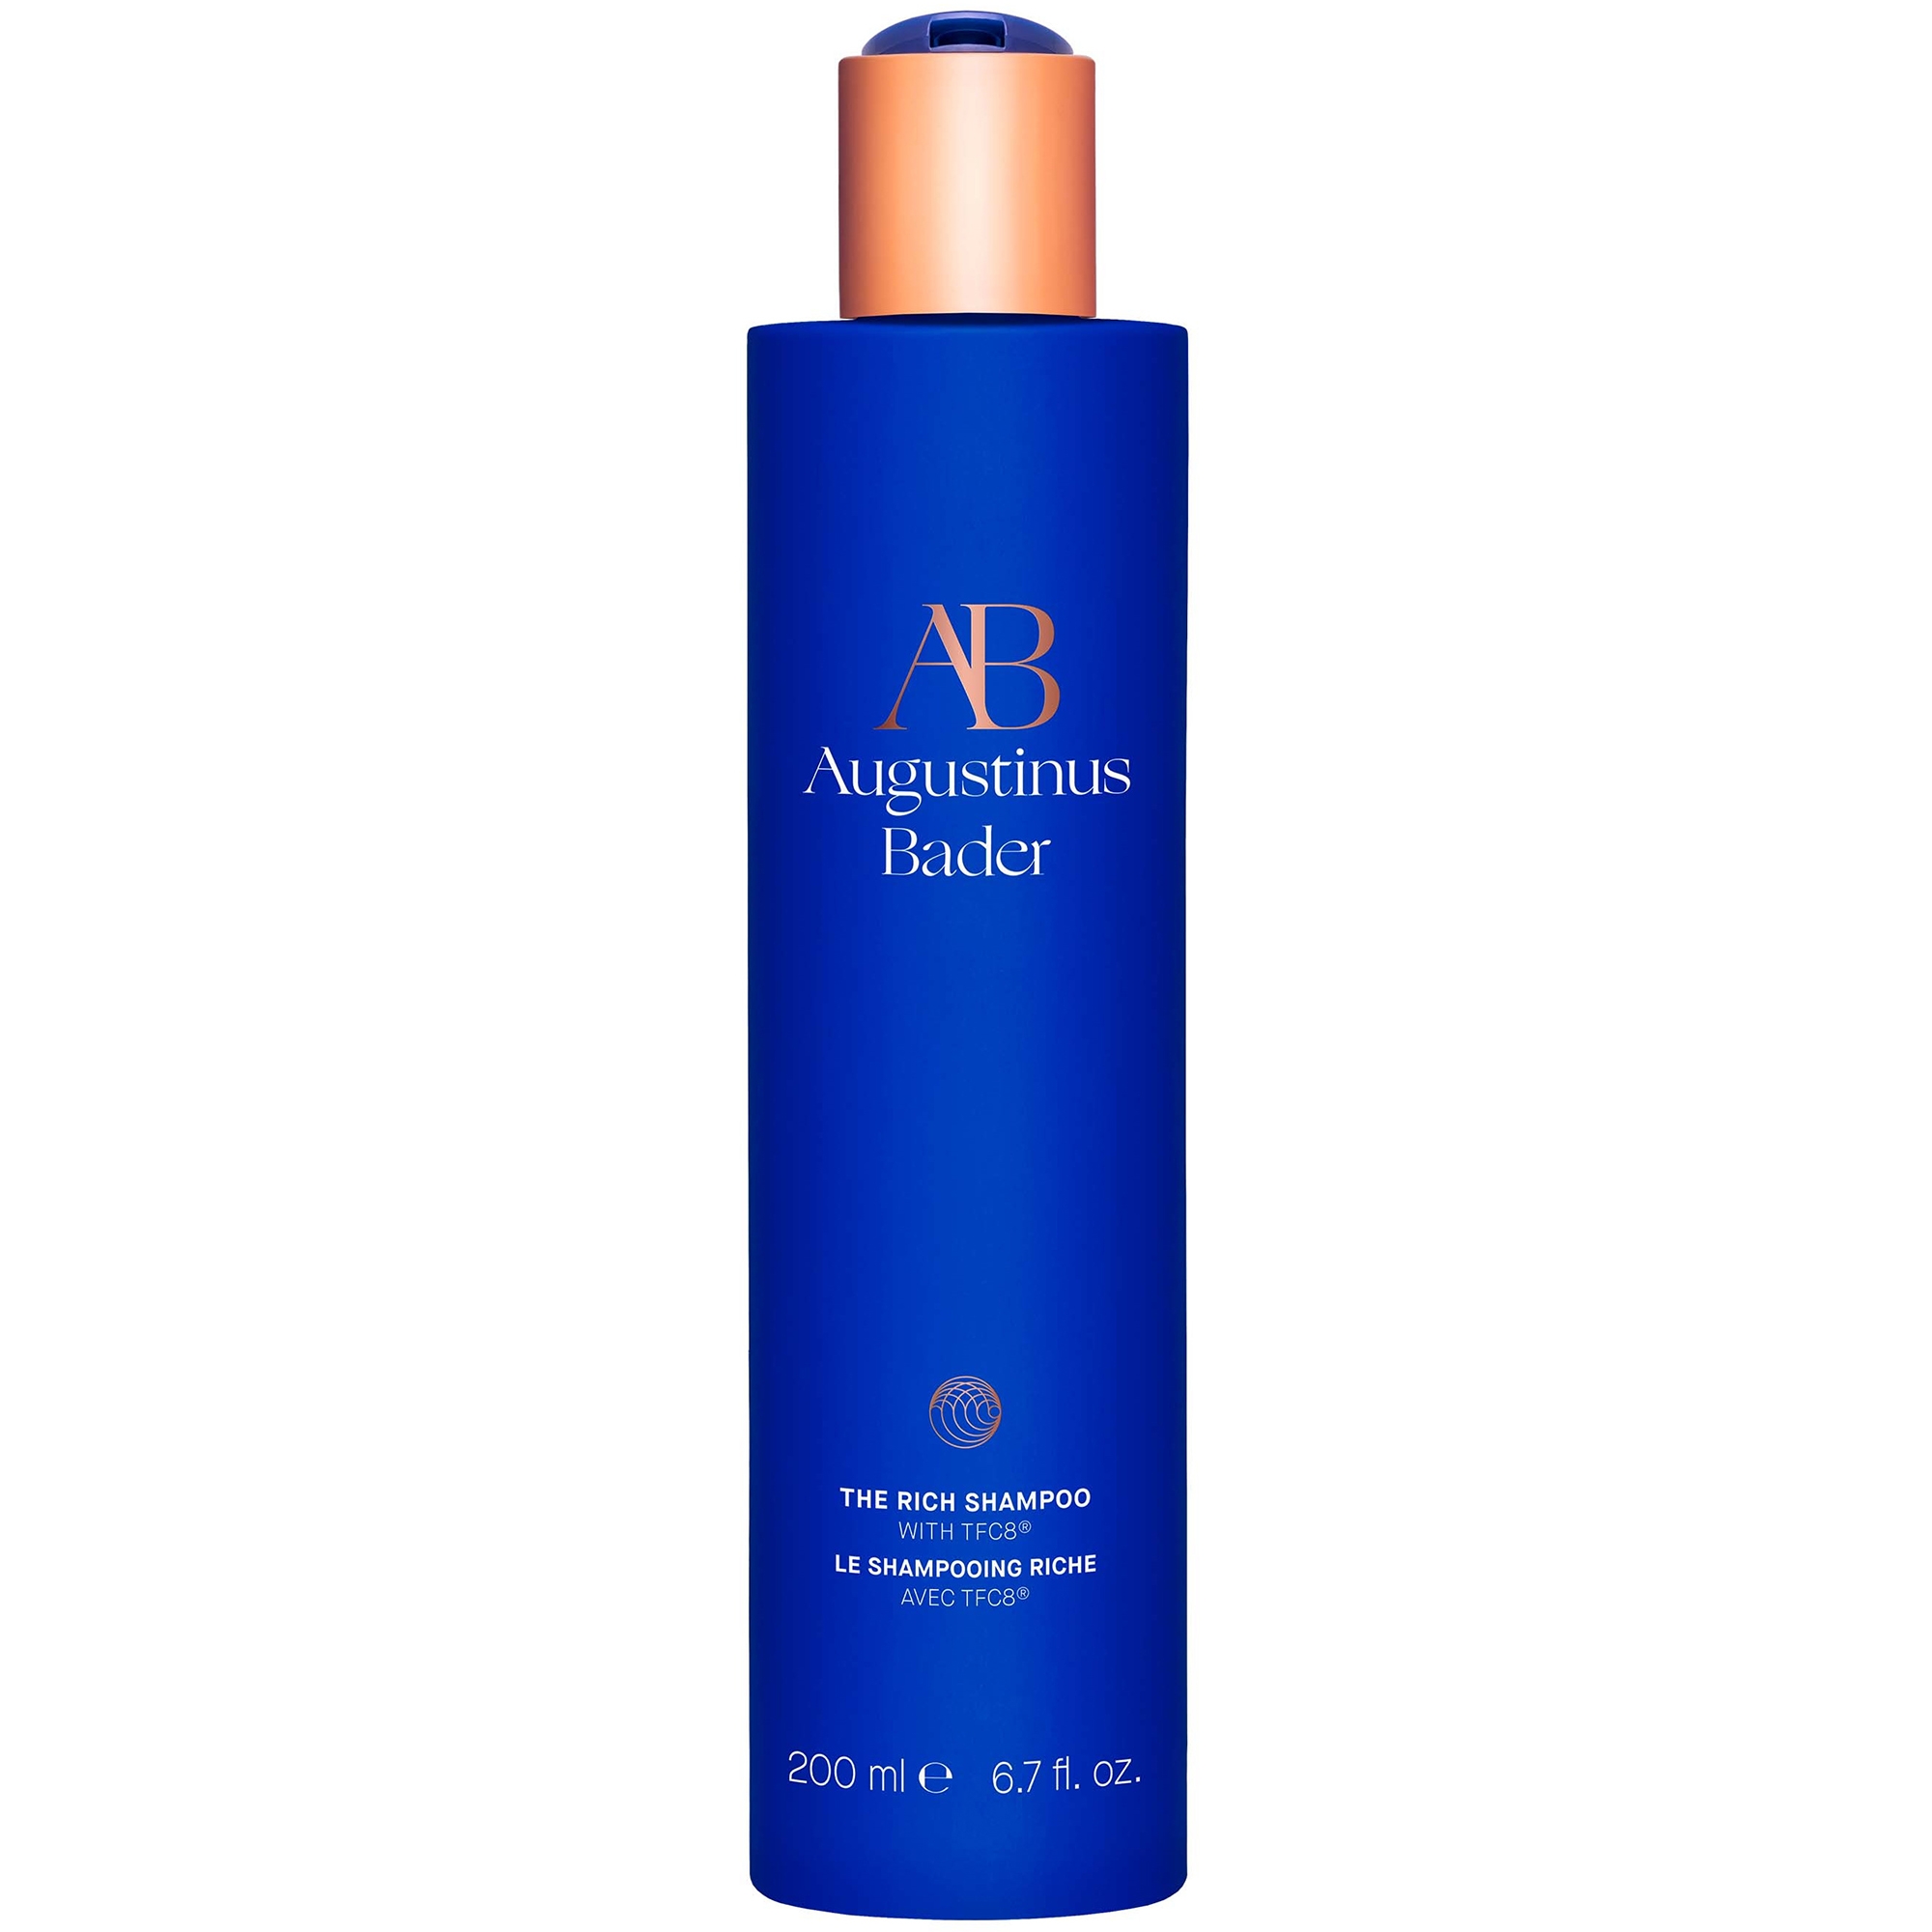
Augustinus Bader
The Rich Shampoo
As someone with a perennially parched scalp, I fell hard and fast for this creamy, soothing shampoo. It has a nice lather that doesn’t leave the skin up top screaming for moisture.
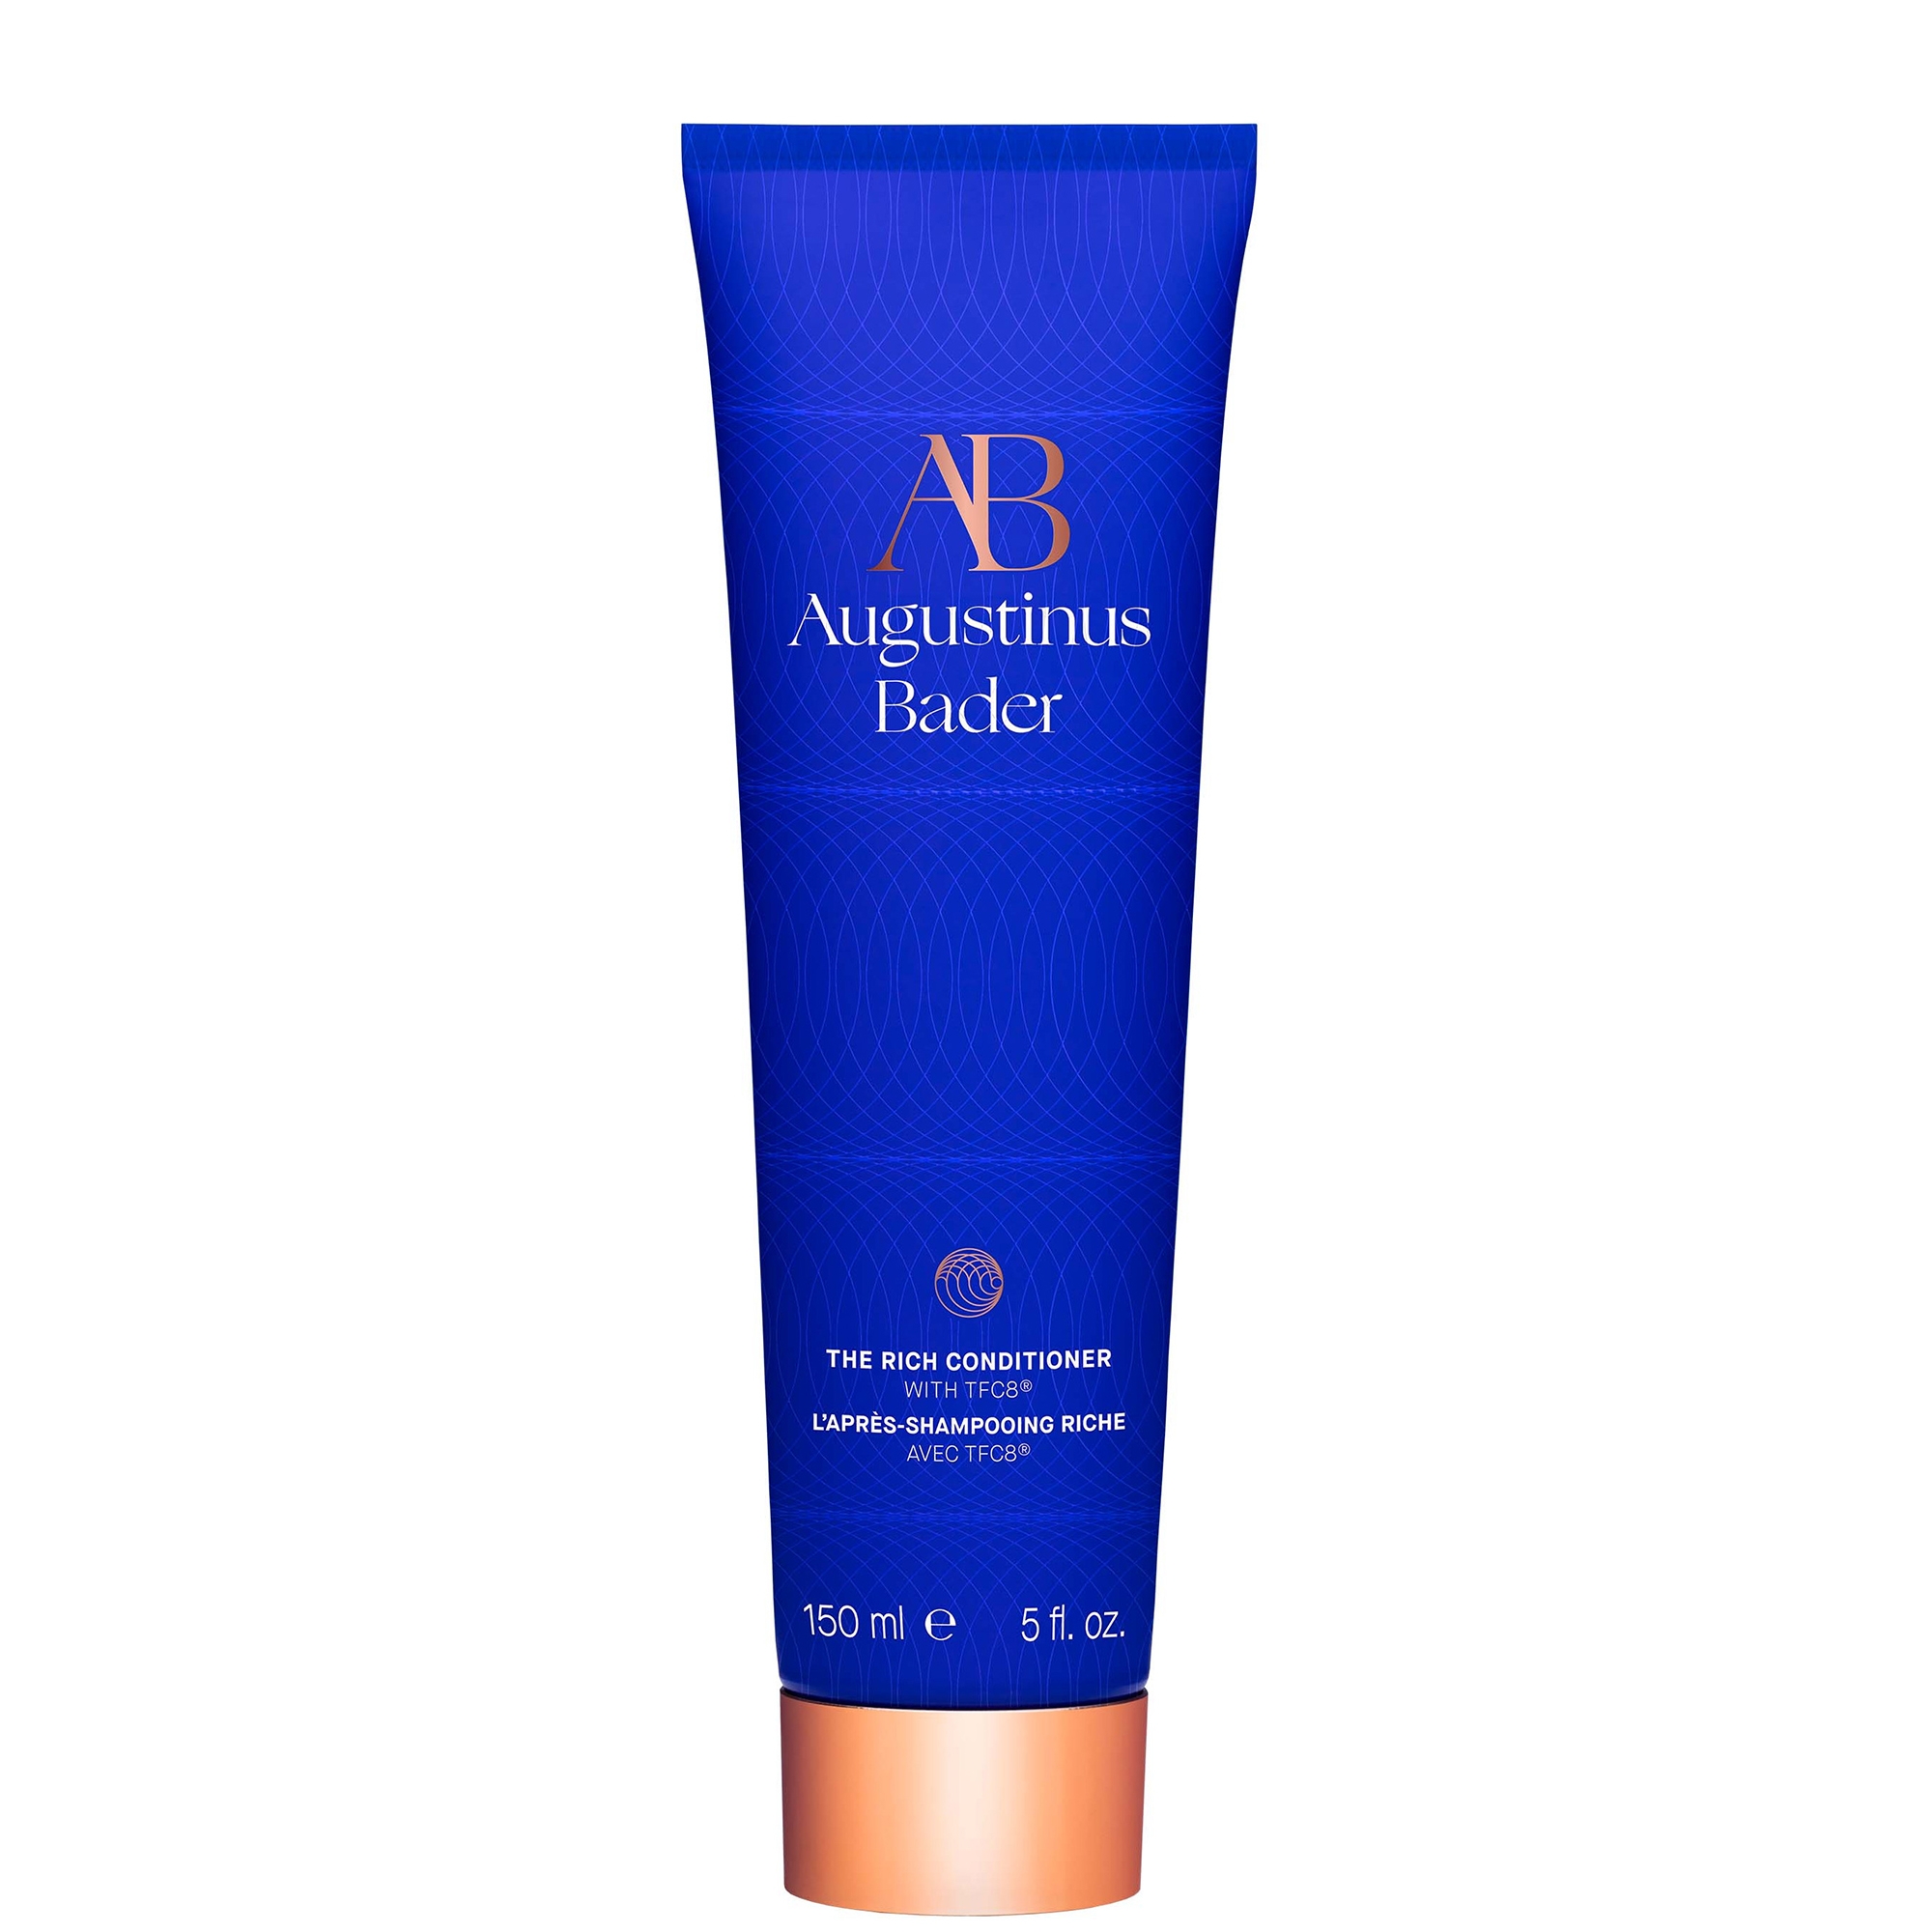
Augustinus Bader
The Rich Conditioner
An equally creamy conditioner is a must! As you can likely tell, I’ve been really into Augustinus Bader’s haircare formulas. My curls eagerly soak up all the hydration they can get, and this creamy formula is like an IV drip for my dull, dry strands.
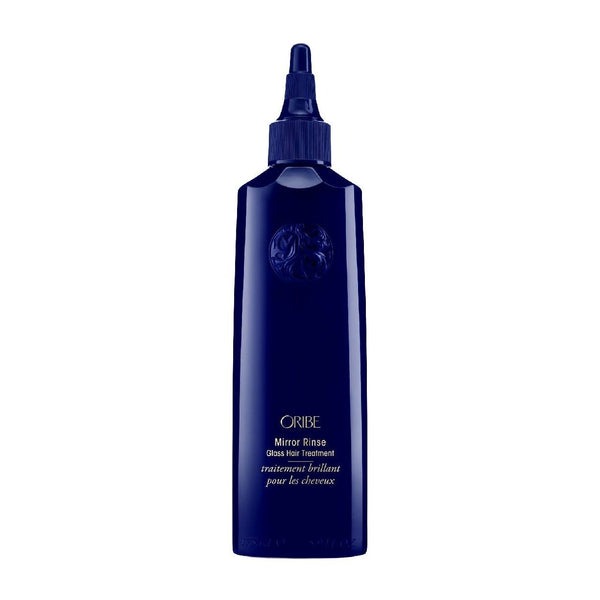
Oribe
Mirror Rinse Glass Hair Treatment
If you’re on the hunt for liquid, glass-like hair (uh, who isn’t?), you need this 60-second treatment. It leaves behind a reflective sheen that lasts me multiple weeks.
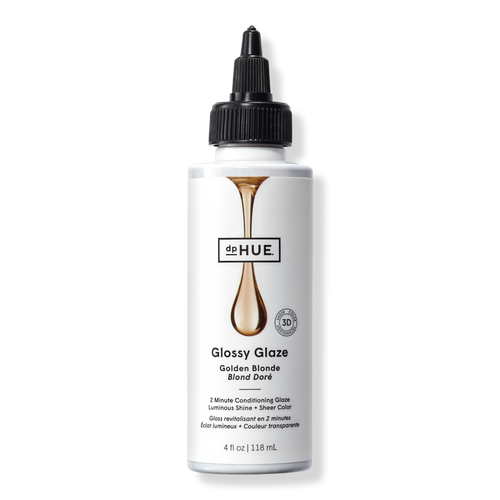
dpHUE
Glossy Glaze – Golden Blonde
I will forever and always be a DPHue stan. The easy-to-use glosses are truly unmatched.
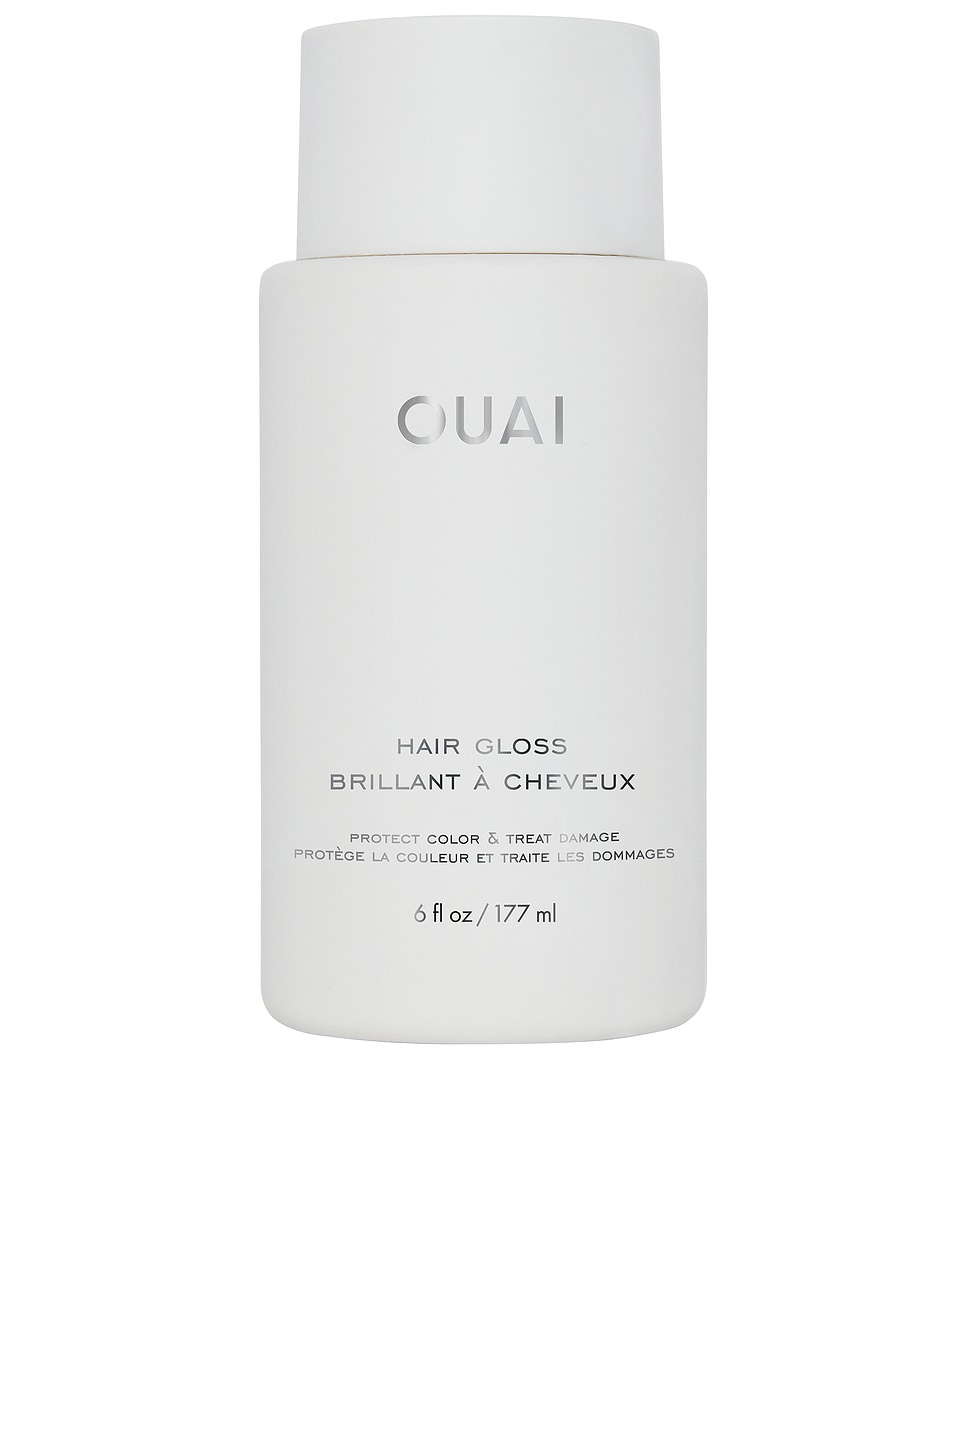
Ouai’s hair gloss is severely underrated, IMO. It’s so thick and hydrating that I’ll even use it in place of deep conditioner. And anything that saves me a couple extra shower steps is a win in my book.
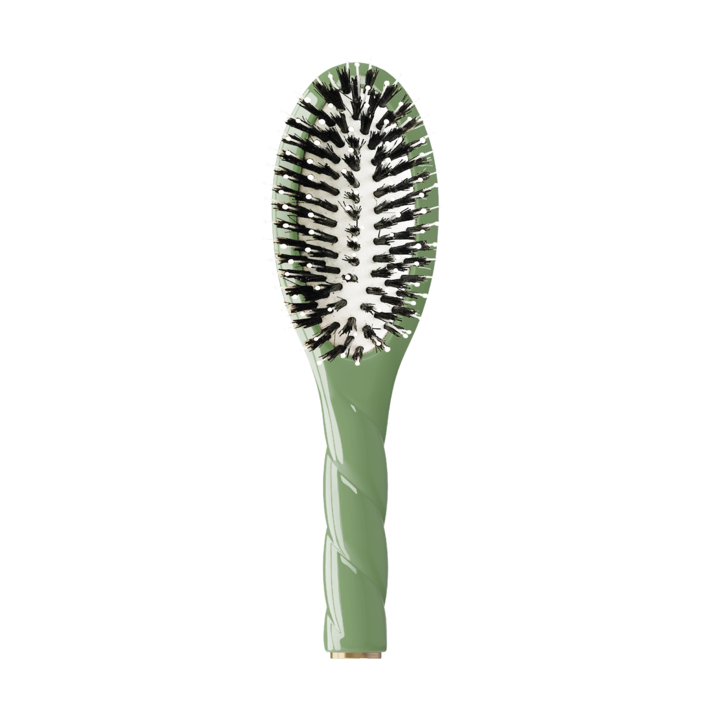
La Bonne Brosse
N.03 the Essential Soft Petite Brush
Whenever I have a blowout, I like to brush daily to redistribute oils and make my hair look extra glossy. (On the flip side, I only detangle my air-dried curls when they’re sopping wet.) This adorably mini brush does the trick, and it’s so easy to take with you on the go.
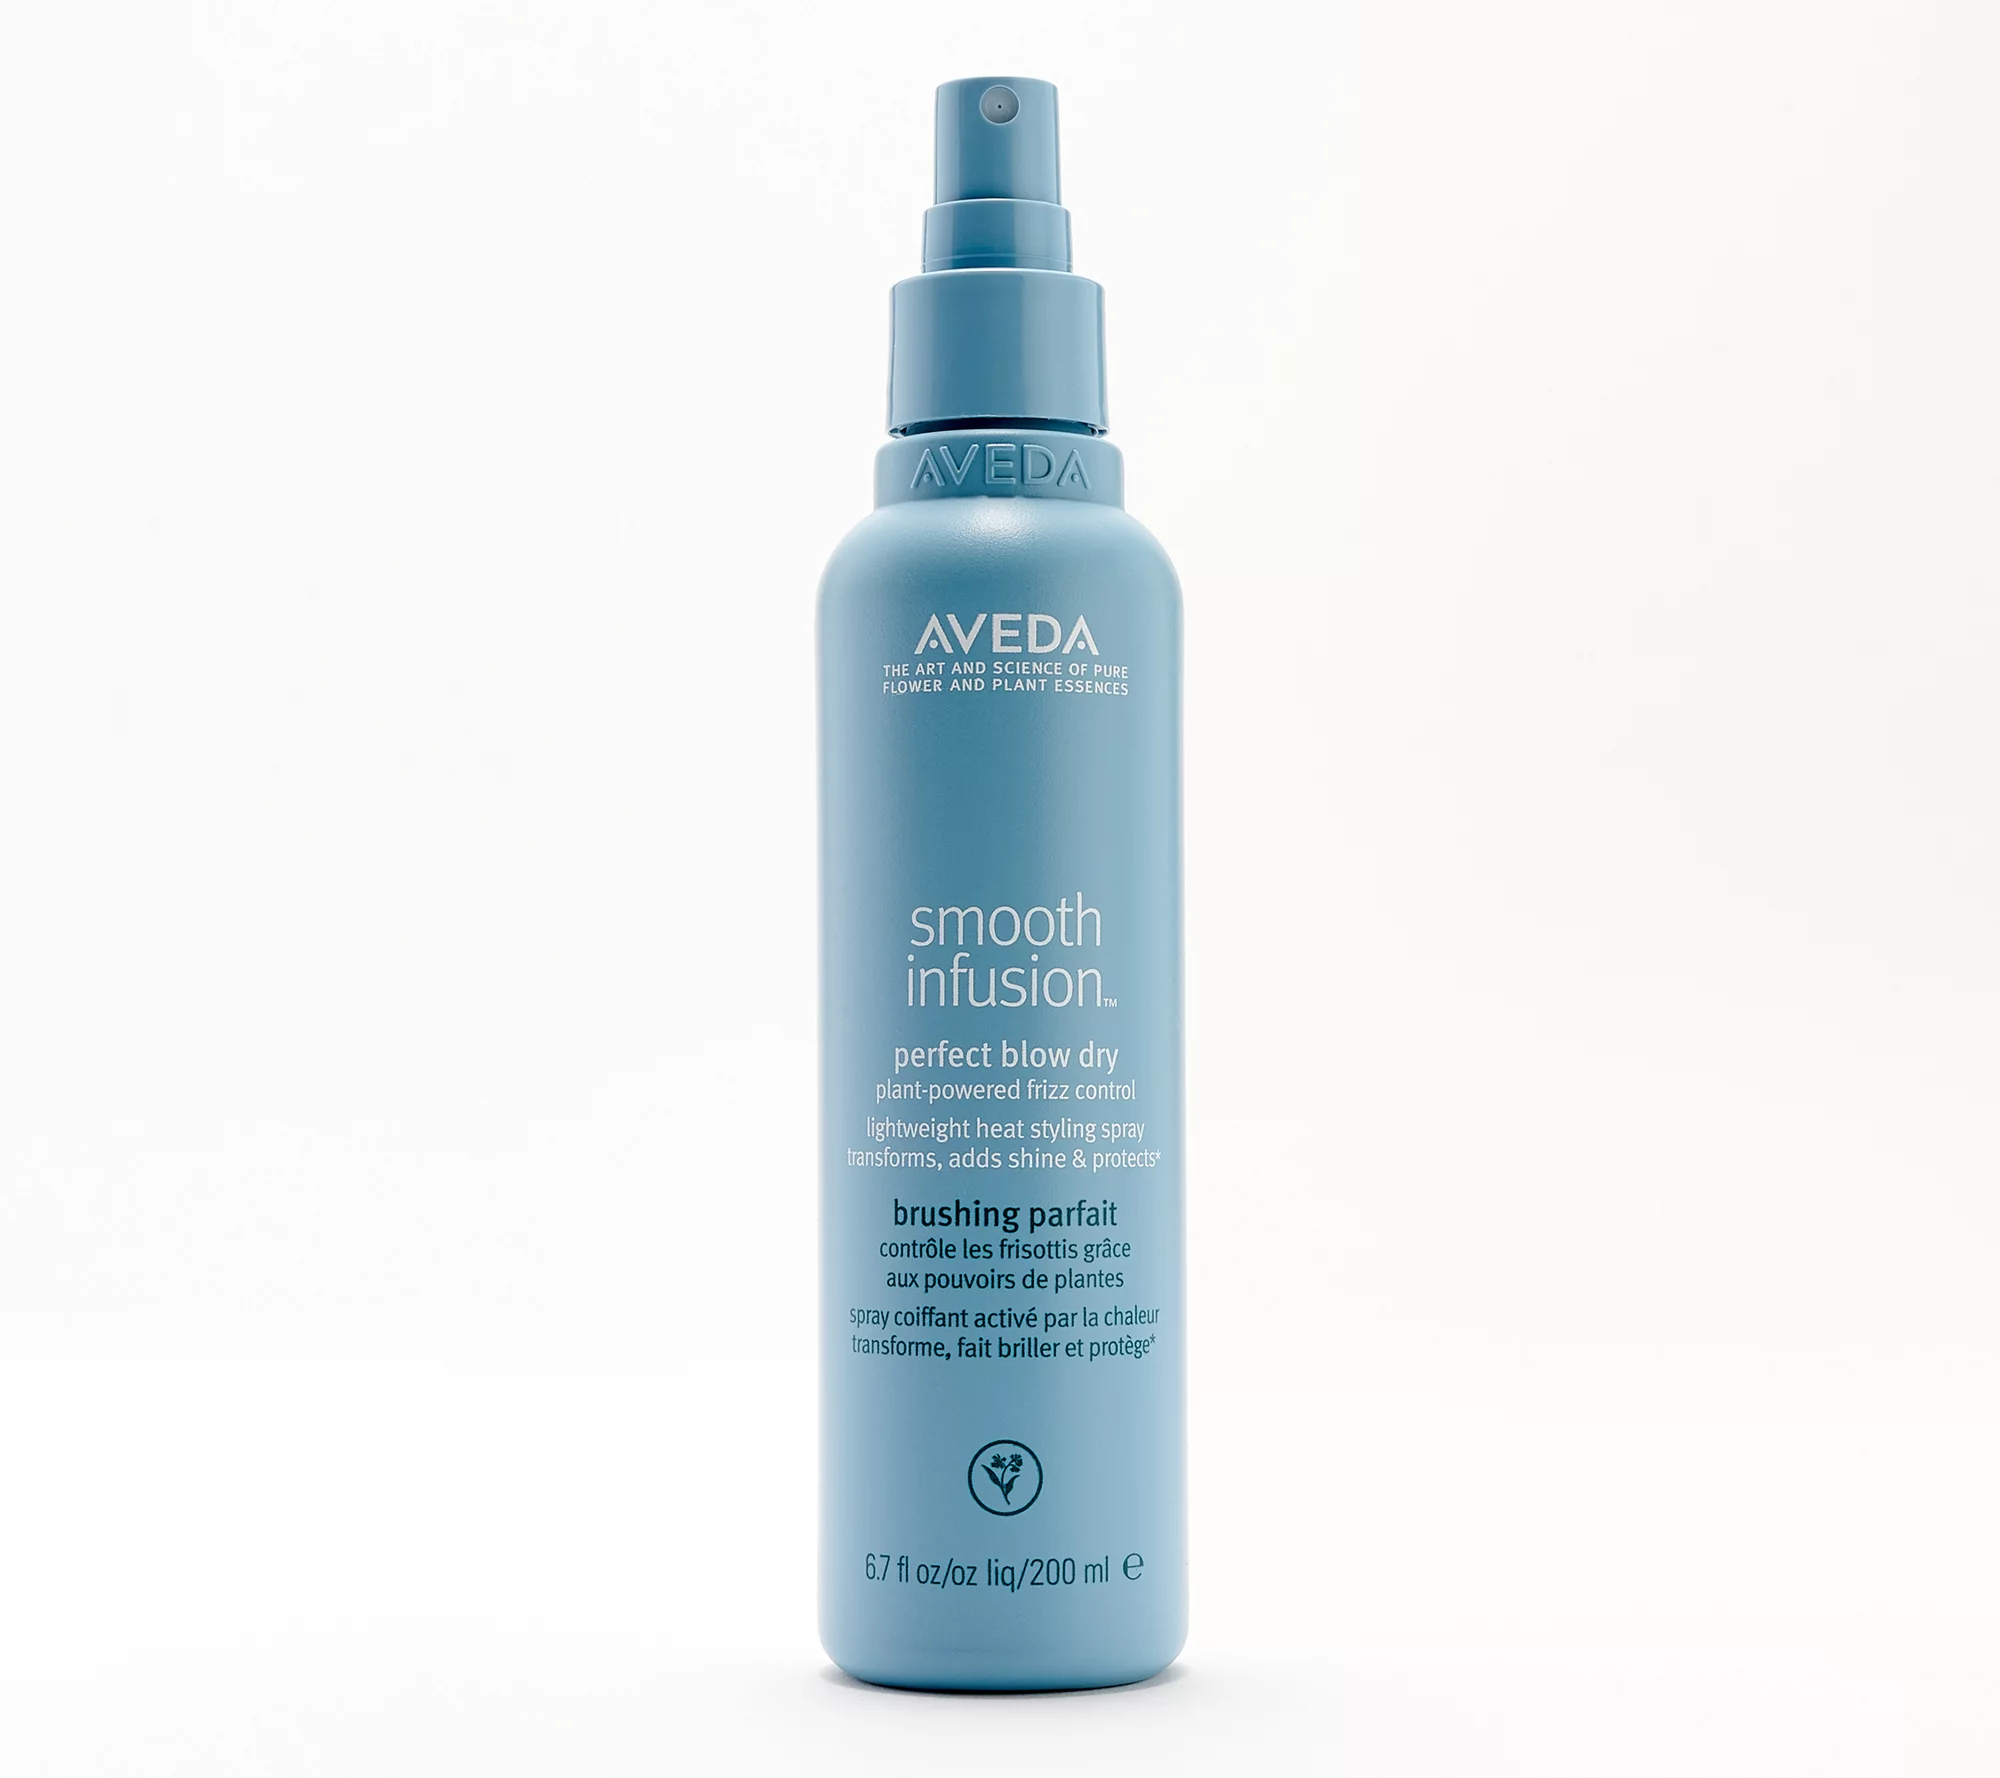
Aveda
Smooth Infusion Perfect Blow Dry Spray
Whenever I do blow-dry my hair, I will always give it a healthy spritz of Smooth Infusion. It softens, adds shine, and protects my frizz-prone strands from humidity.
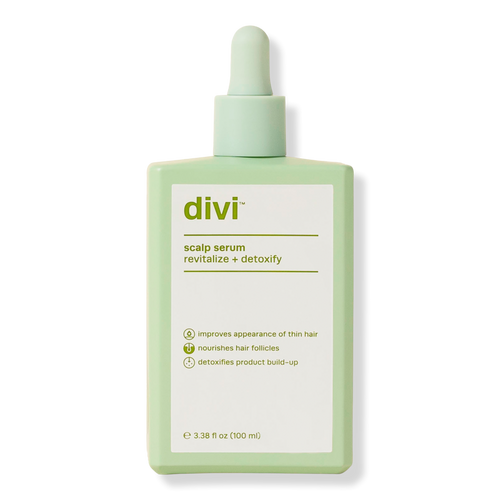
Shiny hair starts with the scalp, and this is one of the only serums I’ve used that actually makes a difference.
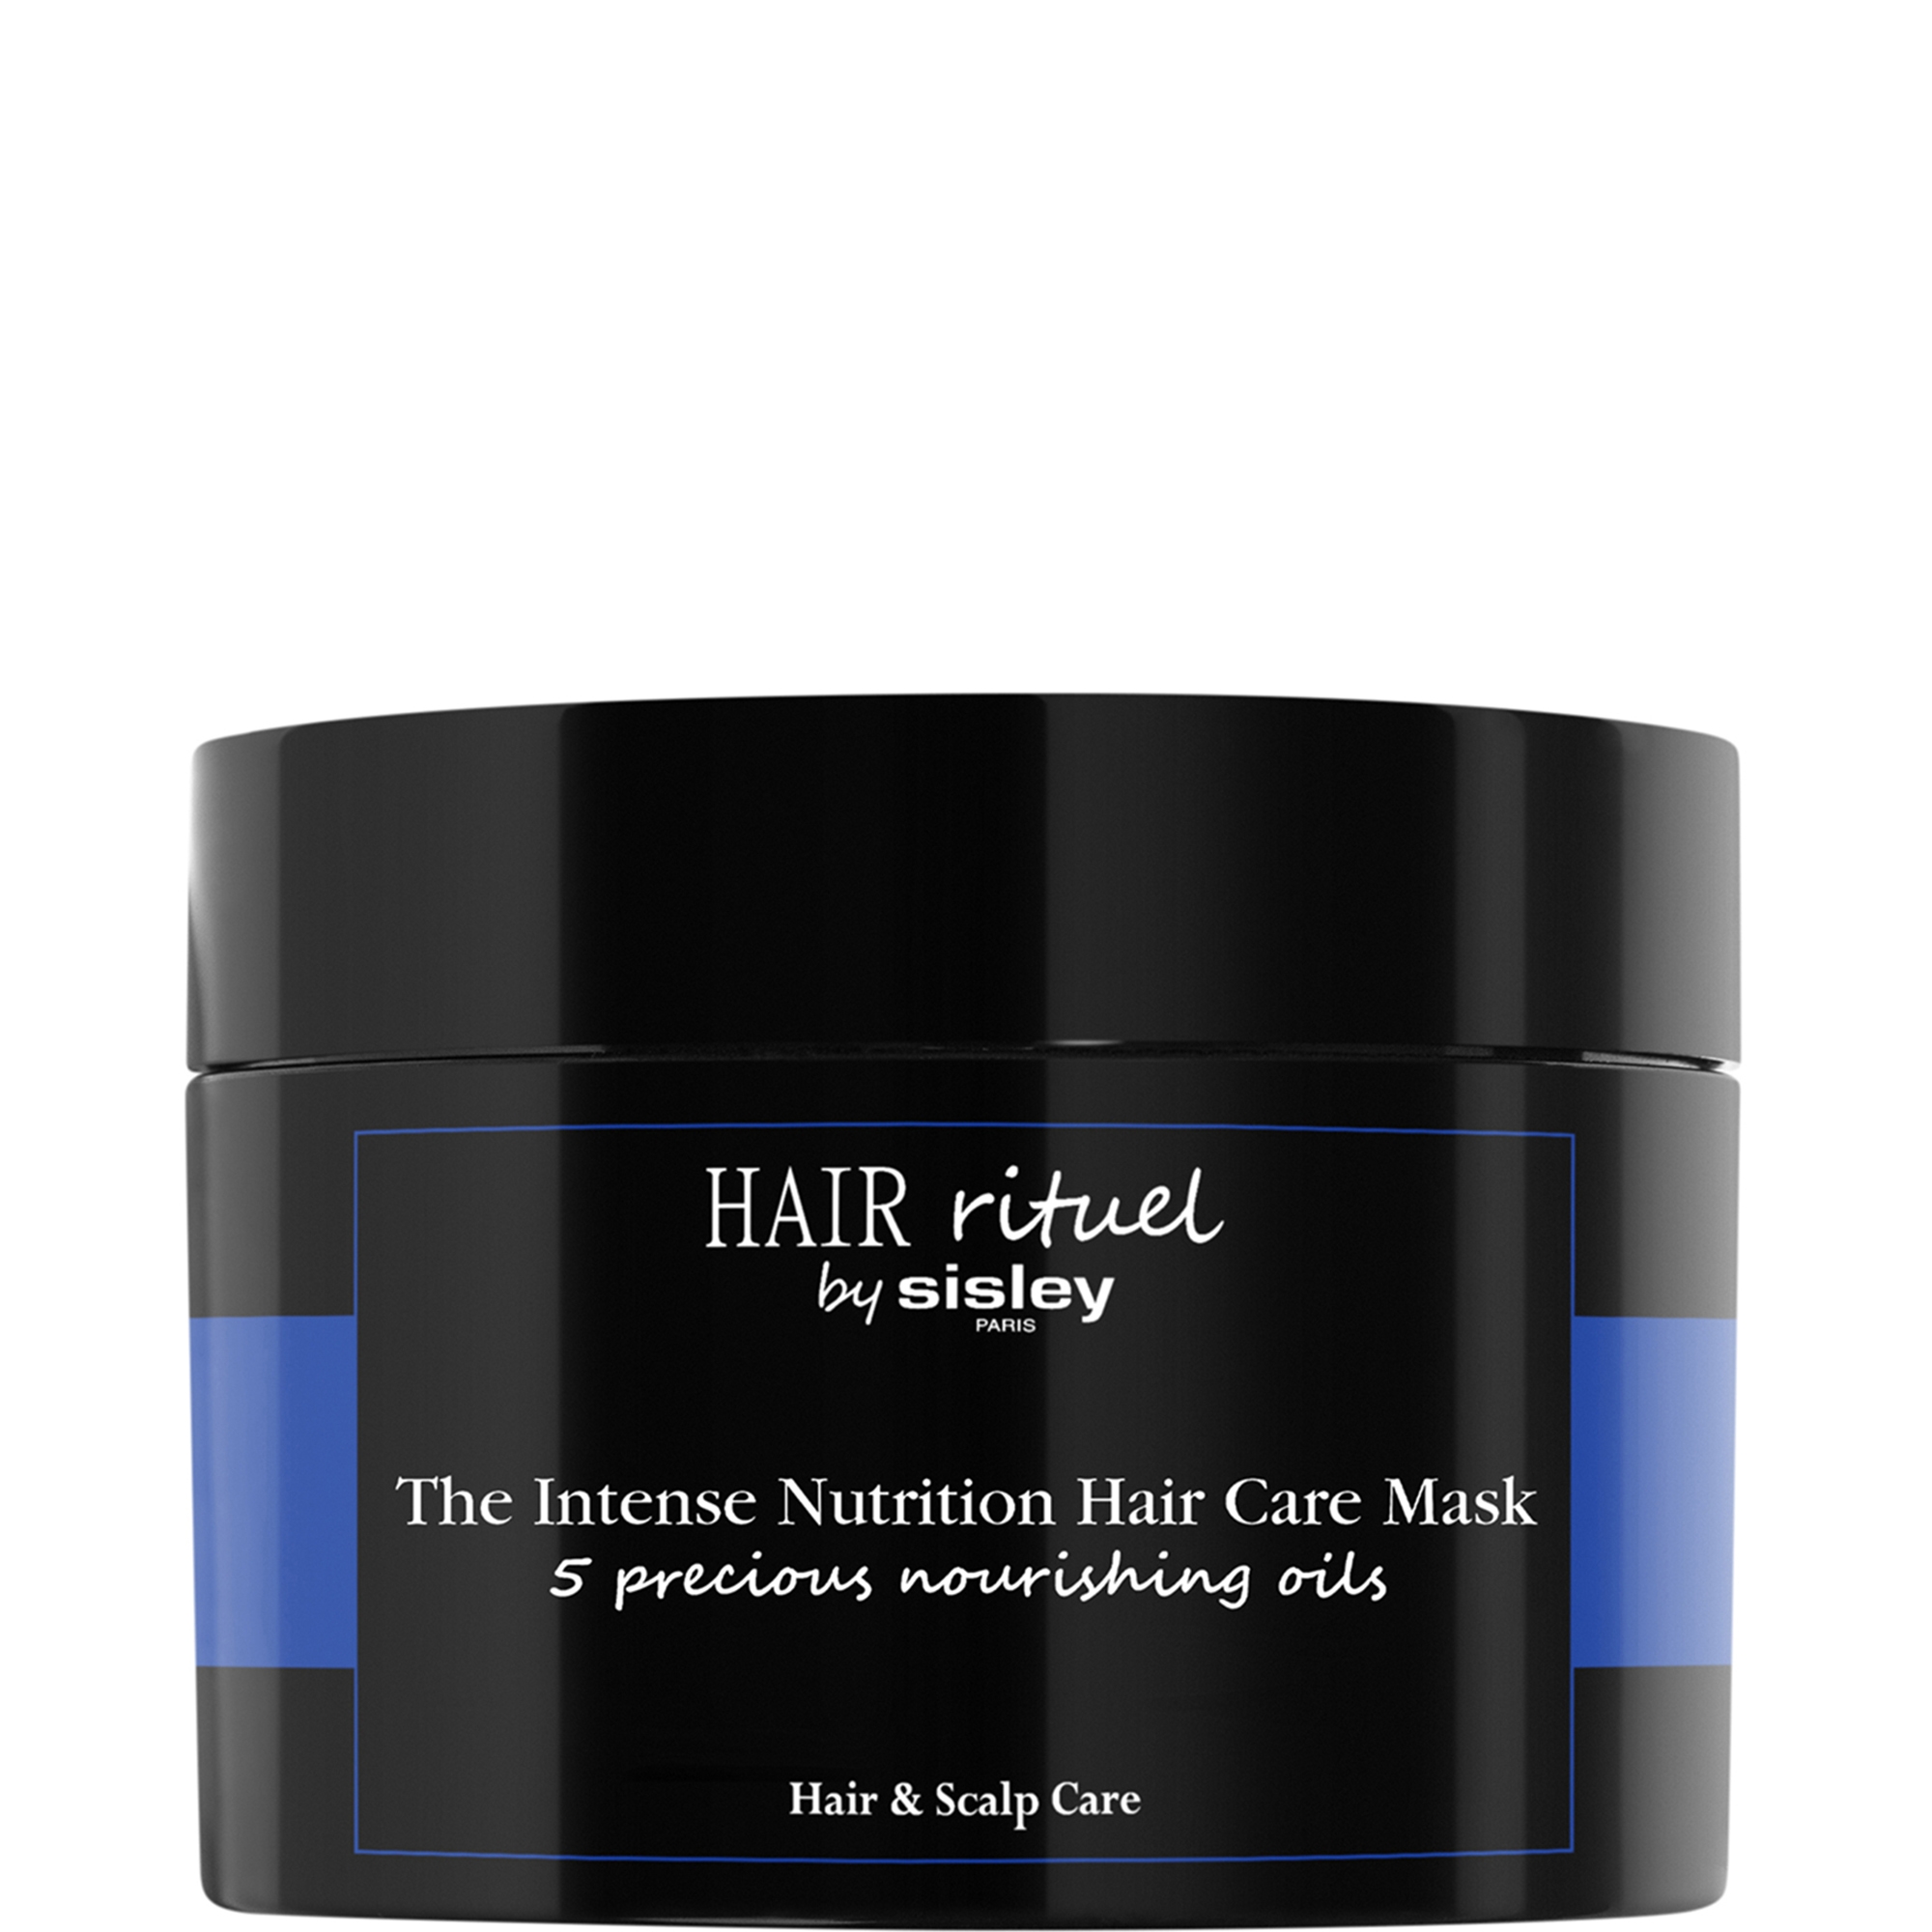
Sisley Paris
Hair Rituel by Sisley the Intense Nutrition Hair Care Mask
This mask is capital-T thick. When my lackluster strands are in dire need of TLC, this is the one I reach for.
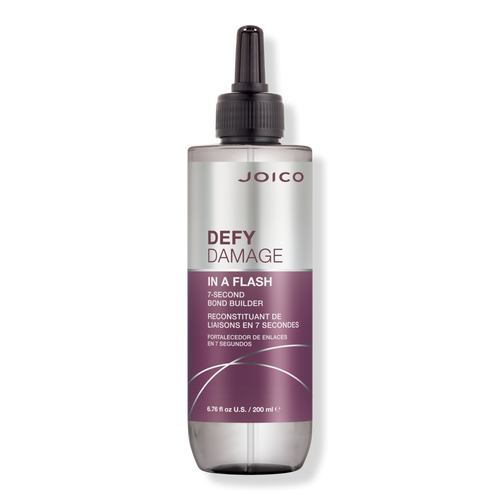
Joico
Defy Damage in a Flash 7-Second Bond Builder
Mending split ends in seven seconds? It’s not a pipe dream, thanks to this treatment. I swear my strands felt 1000% softer and looked shinier after one use. You simply must see for yourself.
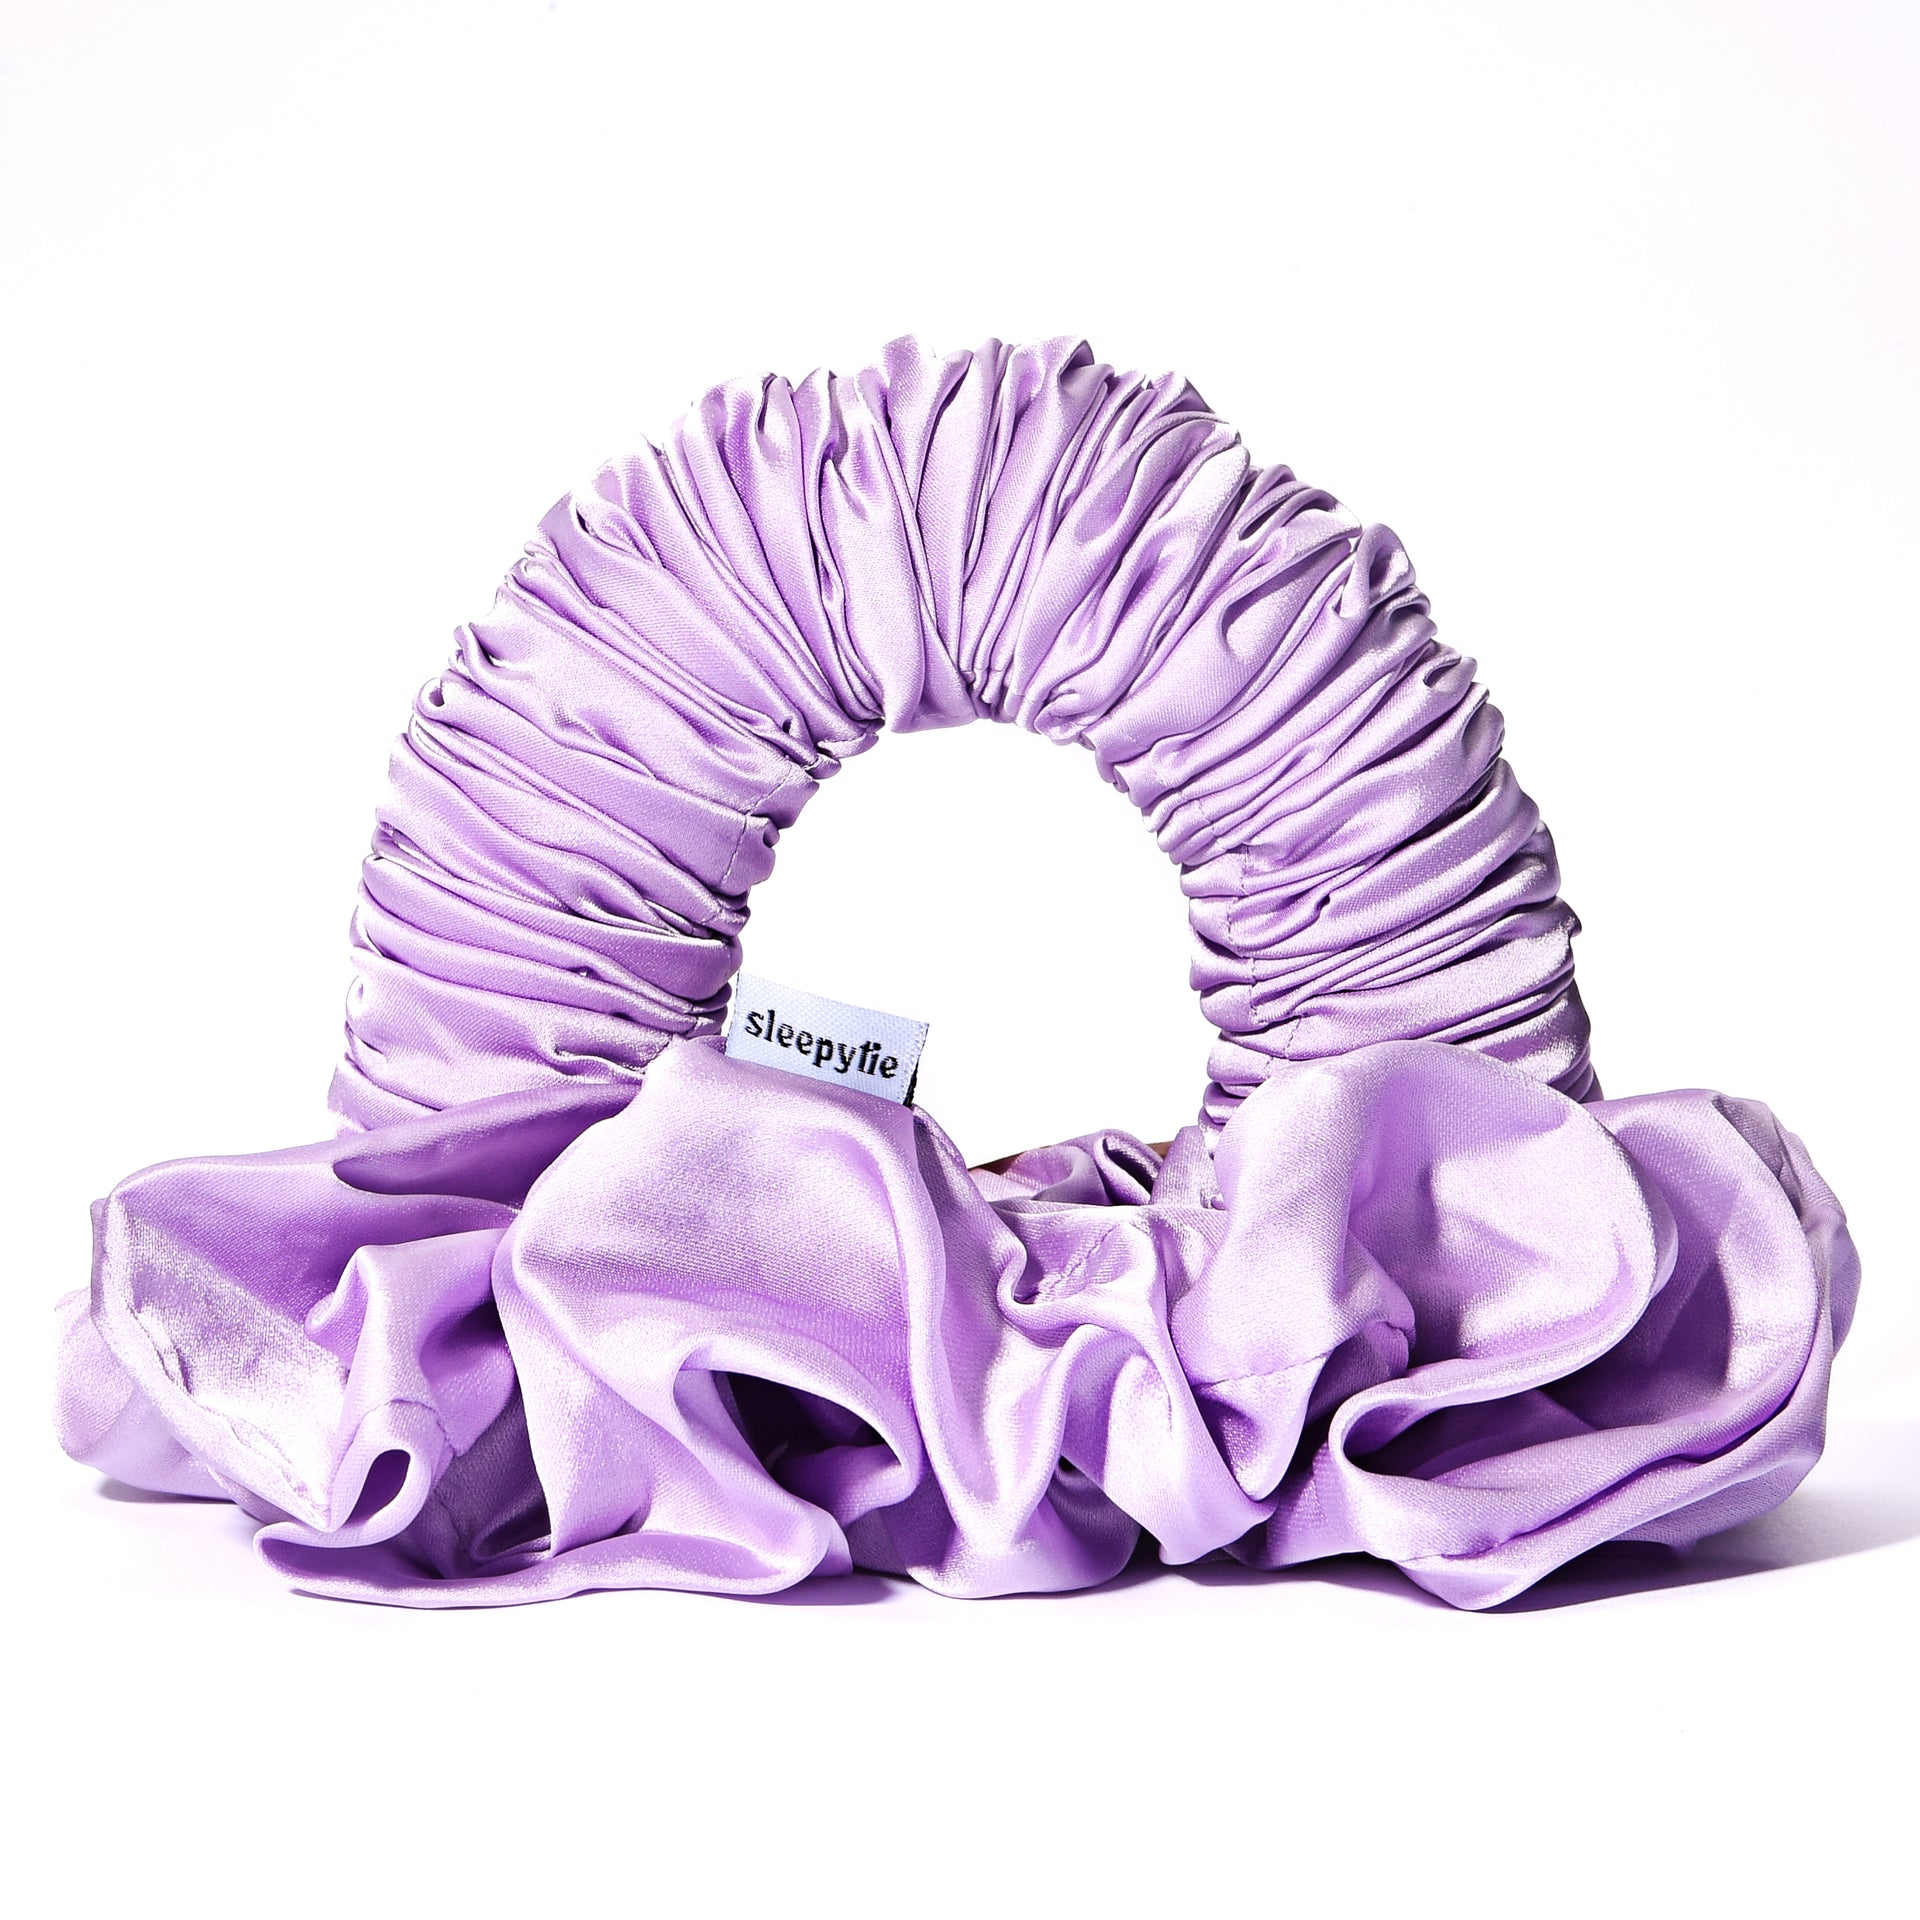
Sleepy Tie
The Sleepy Tie – Dream
Celebrity colorist Jenna Perry recently gave me this rec, and I’ve been enamored with it ever since. The high-quality satin extends the life of your blowout for days on end, and this soft lavender hue is especially dreamy.
Source link
https%3A%2F%2Fwww.whowhatwear.com%2Fbeauty%2Fhair%2Fhow-to-get-natural-looking-hair-color
#Colorist #Specializes

